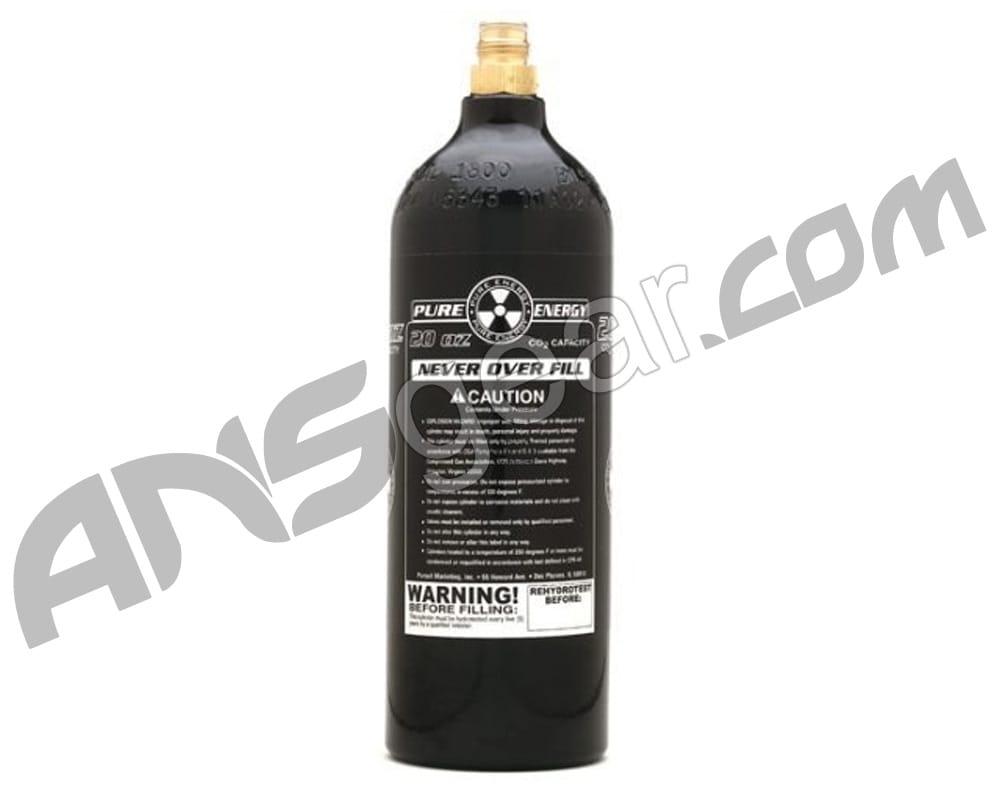
The majority of paintball players use CO2 and will continue to do so for some time to come. Even though most high end paintball markers that many players upgrade to must use HPA (Compressed Air), the recreational weekend warrior rely on workhorse paintball guns that work just fine on CO2. If you read our previous article The Difference Between CO2 And Compressed Air you will know that CO2 has its plusses and minuses. Those minuses are not bad at all if you know a few simple tricks and follow some general safety precautions. The purpose of this article is how to best use CO2 Tanks for paintball.

Safety
The number one rule to remember with CO2 is that the pressure to power your marker is the result of a liquid boiling off to gas. The warmer your CO2 tank gets, the higher the pressure inside the bottle. The tank itself is rated well above the typical pressure of CO2 under optimal conditions but as a safety measure all CO2 tanks are outfitted with a safety burst disk. This disk is mounted on the side of the tank or valve and is composed of a thin copper diaphragm. This disk is burst rated so if the pressure inside the tank rises too high this disk will rupture well before the vessel’s burst rating, harmlessly venting the pressure through the disk’s housing.
Preventing overpressure is pretty simple. First, do not overfill your CO2 tank! A respectable paintball field or shop will be using a scale when refilling your tank. Second, do not let your CO2 tank overheat! Do not leave them in your car on a hot sunny day. It’s best to keep tanks in a cooler in the shade. When you’re at the field or area of play, never leave your tank in direct sunlight. Remember to set your marker in the shade in between games and the odds of your burst disc blowing are pretty slim.
Preventing Your Marker from ‘Shooting Liquid’
For optimal performance you want only vapor and not liquid CO2 entering your paintball gun. How do you know if liquid CO2 is entering the marker? The number one sign is an intense thick cloud coming out the barrel and what looks like snow falling out. That ‘snow’ is actually dry ice formed from such rapid expansion. When this happens the pressure in your marker will rise and fall like crazy. Sometimes it will drop so low that your range will be near halved and the marker won’t cycle properly. Next thing you know your velocity will rocket to unsafe levels because liquid CO2 is expanding within the valve and even the barrel itself. Nothing will fix this except time, allowing the marker’s temperature return to ambient conditions.
The first step in preventing your marker from ‘going liquid’ is to remember that liquid co2, like everything else on this planet, is affected by gravity. If your marker is tipped with the barrel down then the liquid will flow from the bottle, through the hose and into your marker’s valve. Get into the habit of carrying your paintball marker with the barrel pointed up in the air instead of down at the ground. Consider using an ASA (Air Source Adapter) that tilts the bottle down a few degrees similar to the ones used on Tippmann paintball markers. When shouldered, the bottle will be slightly angled so that gravity keeps the liquid to the bottom. If you notice that you’re markers coughing up a lot of ‘smoke’ and you see ‘snow’ falling out the muzzle, stop shooting or at least slow your rate of fire down drastically and hang back for a minute or two with the barrel pointed upwards. You need to give the liquid CO2 in the marker time to boil off to vapor.
CO2 Tanks Are Chilled When Filled
A CO2 tank is emptied before filling to chill it. If a tank isn't chilled, you won't get a proper full fill. Your CO2 tank needs to warm up to ambient temperature before the pressure is at optimum levels, otherwise it will chronograph too low. If you can't get your tanks filled before game day then get them filled as soon as you get to the field so they have time to warm up to current conditions.
Improving Your Consistency
Many people claim that you can never get consistent velocity using CO2. This is not true; consistent FPS with CO2 is easy if properly set up and properly managed. The first step is to realize that CO2 needs enough space to expand. This starts in the bottle itself and continues through the hose and gas-through foregrip if your marker is equipped with one. In moderate to warm weather consider installing an expansion chamber on your marker. An expansion chamber is typically a cylindrical piece that doubles as a foregrip. The inside is divided into multiple chambers, providing areas for liquid co2 to be trapped and boil off to vapor. An expansion chamber can greatly increase your velocity consistency and increase the gas efficiency as there is less liquid CO2 waste.
Using a coiled remote hose will also have the same effect. A coiled remote hose takes weight off your marker by moving the tank to a pouch on your paintball vest or harness and delivers pressure to the marker via a high pressure rated hose (there will be a separate article on coiled remote hoses in the near future). The volume of the stretchy coiled hose allows room for liquid CO2 to get trapped and expand. However, using both a remote and an expansion chamber could have an adverse effect in that you create too much volume for the CO2. This can lead to what is called ‘shootdown’ when rapid firing. The faster you shoot the faster your pressure and velocity drops because the liquid CO2 does not expand fast enough to fill such a large void. It is recommended that you use one or the other but not both at the same time.
Using CO2 in Cold Weather
When the temperature starts to drop below 50 degrees Fahrenheit CO2 really starts to show its limitations. In these conditions the pressure of CO2 is already lower and it expands slower. The result is lower pressures causing even faster rates of shoot down and pressure loss to the point of your marker not cycling completely. If your marker is a ‘blowback’ type then you will experience the “BRRRRRRRRAAAAAAP” sound of it stuttering like a machine gun as it run-away short cycles, alerting the entire field to the fact that your gun is not able to fire back.
“But I really want to go out and play some paintball this winter, so what can I do?” you ask. There are a few tweaks you can do to your marker but the most effect will come from changing your style of play. Because CO2 pressure will be lower and expansion slower you want to decrease the volume between the bottle and the marker. Remove your expansion chamber if you use one or screw the bottle directly to the marker’s ASA if you use a remote. You’re going to have to shoot less and at a slower rate of fire. That means semi auto instead of burst modes and single shots spaced out instead of two or three quick ones. The slower your rate of fire, the higher your pressure will remain for better performance.
In cold weather you will have thick white clouds of vapor erupting from the muzzle that obscures your vision and gives your position away. There really is no cure for this; you will just have to bear with it. It seems logical to strap a handwarmer or heat pack to the tank would be a good idea. DON’T DO IT! First, it’s possible to overheat the bottle to the point that you blow a burst disk. Second, the liquid CO2 will expand at an unstable rate with the net result that your velocity and pressure swings will be even worse.
Protecting Your Tank
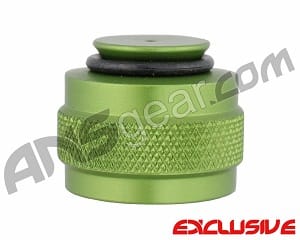
The valve on your CO2 tank is typically made of brass to reduce wear on the ASA. A ding or dent on the lip where the sealing urethane tank o-ring sits can cause your tank to leak and is not repairable short of replacing the entire valve. To prevent this you should always use an aluminum or plastic paintball tank thread protector cap for each of your tanks. Such an inexpensive little item can save an entire day of paintball play!

If your CO2 tank does get a ding on the lip and has trouble sealing then one old trick is to lay an extra o-ring flat in the bottom of the ASA. When you screw your tank into place it will seal against the face of the valve. You will go through a lot of o-rings this way but it will get you on the field.